Whether you're considering buying a new TV or your old flat panel seems to be doing fine, there are still ways to optimize your viewing experience, and it all begins with your television's settings. Let’s explore some of the key adjustments that can make a world of difference in picture quality, comfort, and overall enjoyment.
Having TV repair issues and want to jump into the repair process instead? Check out our helpful YouTube video on How To Get Started below:
1. Turn Off Motion Smoothing
Motion Smoothing is meant to reduce blur in fast-paced scenes but often results in the dreaded “soap opera effect,” making cinematic content look cheap and unnatural. Each manufacturer calls it something different - LG has TruMotion, Samsung calls it Auto Motion Plus, and Sony uses Motionflow or CineMotion. Disabling it restores the natural look of movies and TV shows.
TVpartsToday Tip: This is usually the QUICKEST and EASIEST way of improving picture quality on your television.
2. Turn Down the Sharpness
Contrary to popular belief, the "sharpness" setting on your TV doesn't actually make the image sharper. Instead, it applies artificial edge enhancement that can create unwanted noise and distort details. This processing exaggerates borders around objects, making them look unnatural.
TVpartsToday Tip: For most TVs, setting sharpness between 5% and 10% gives a more natural image, but we encourage people to adjust this setting until they are satisfied with the overall look.
3. Select the Right Picture Mode
Your TV likely offers modes such as Standard, Dynamic, Cinema, Game, and Sports. Each changes multiple settings at once. For example, Cinema or Filmmaker mode is ideal for movie nights in a dim room, while Game mode reduces input lag for console gaming. Avoid Dynamic or Vivid for daily viewing, as these tend to oversaturate colors and push brightness too high.
TVpartsToday Tip: Avoiding Dynamic or Vivid settings is also a good idea to preserve the longevity of your television!
4. Calibrate Color Temperature
If your TV’s whites look icy blue, the color temperature is probably set to “Cool.” This may make the picture seem bright, but it’s less accurate and can cause eye fatigue. Switching to “Warm” or “Warm 2” often provides more natural skin tones and a cinema-like feel. Use a calibration tool or streaming test pattern to fine-tune for accuracy.
TVpartsToday Tip: This setting change is likely the weakest one of the seven! If you don't see a huge difference or an improvement you're happy with, reset to default settings!
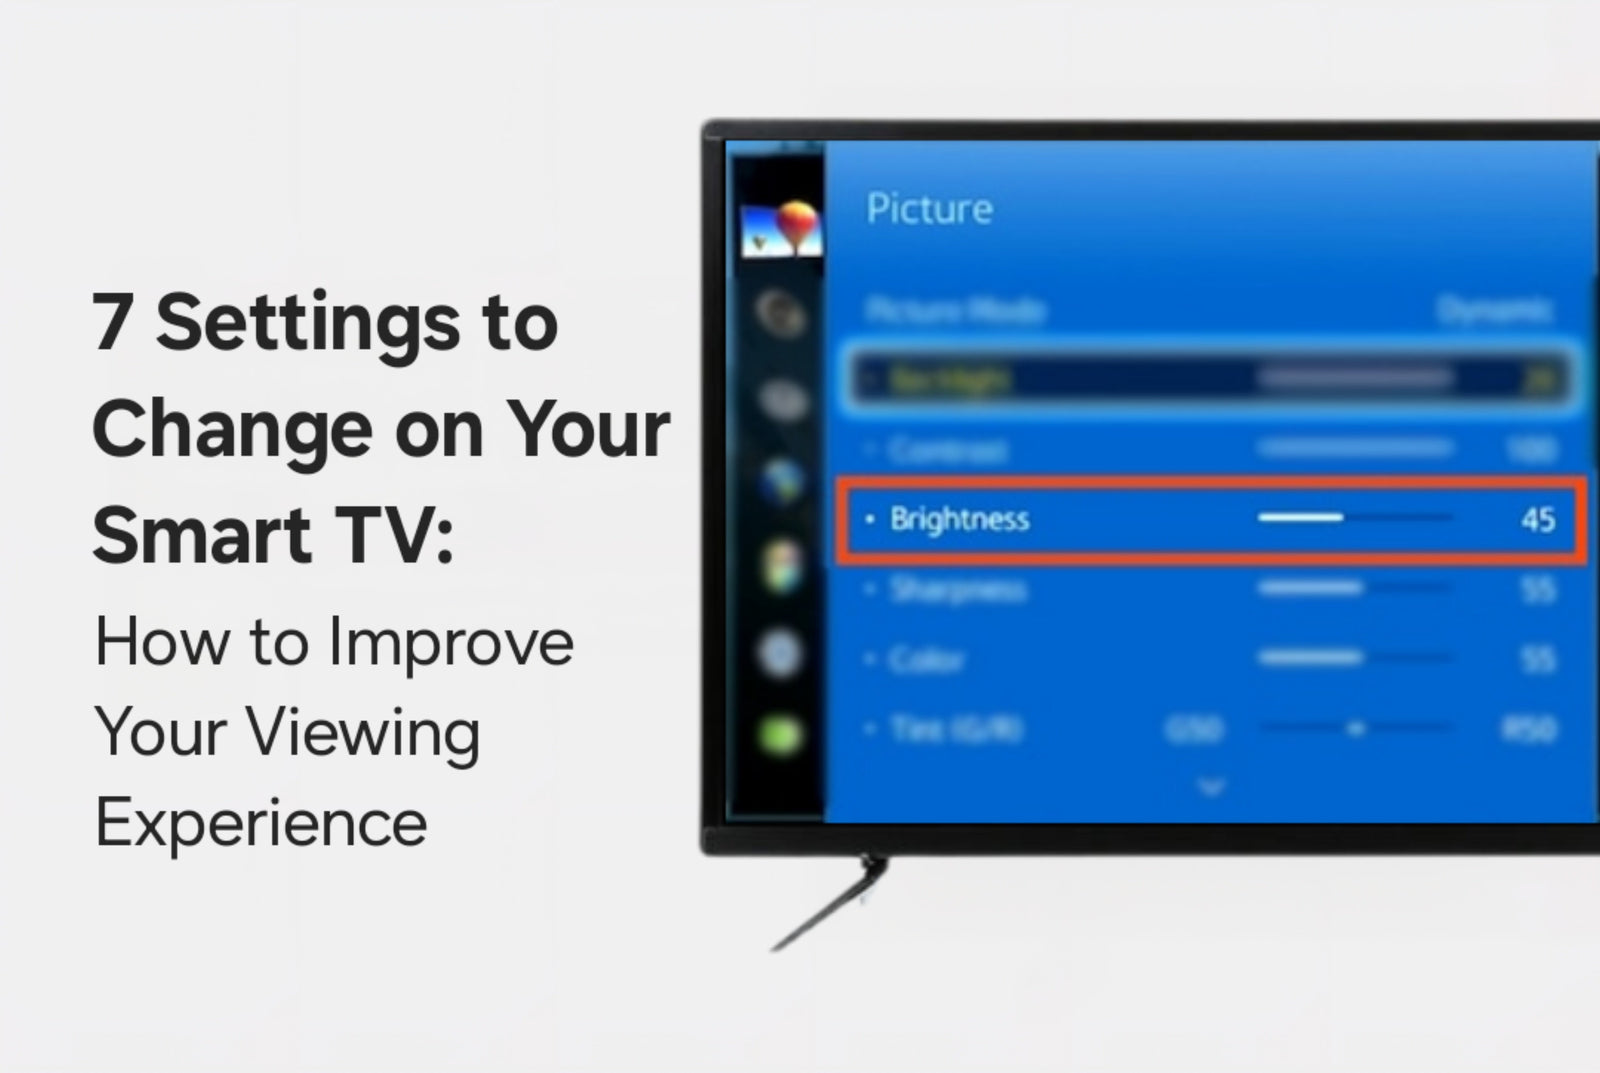
5. Turn Off Vivid Mode and Lower Brightness
As we have stated previously, Vivid Mode isn't exactly great for everyday use. It is meant to catch your eye in a brightly lit store, but in a home setting, it oversaturates colors and can be hard on your eyes. Lowering brightness to match your room’s lighting will improve detail in both bright and dark scenes. For optimal results, adjust brightness while viewing a dark scene until you can see shadow details without washing out the picture.
TVpartsToday Tip: Experimenting with your brightness settings may be a little irritating at first, but finding the right brightness balance for your TV and your room will go a long way in improving the look of each scene you watch!
6. Check Your Contrast
Proper contrast settings give you richer detail and better depth. Excessively high contrast can make bright areas lose detail, while too low contrast can make the picture look flat. There's not much more to it than that!
TVpartsToday Tip: Adjust while viewing an image with both bright and dark areas - like a sunset - so that highlights retain detail without looking blown out, and shadows stay deep without becoming muddy.
7. Enable Local Dimming (If Available)
If your TV offers local dimming, turning it on can dramatically improve contrast by brightening highlights and deepening blacks in different screen zones. This works especially well for HDR content. Experiment with low, medium, or high intensity to avoid distracting halos around bright objects.
TVpartsToday Tip: Adjusting your TV’s picture settings can be as important as repairing a faulty component when it comes to viewing quality. If, after calibration, your image still looks off, the issue might be hardware-related - such as a failing T-Con board or main board. Always check part numbers before ordering replacements to ensure compatibility.
Need Help?
If you’re still unsure about the issue or need to replace a part, reach out to TVpartsToday. We can help you identify the exact cause of the problem and provide the right replacement part!
Would you rather watch a video? Check out our helpful Troubleshooting 101 playlist over on YouTube!
Would you rather chat with a seasoned repair expert? Head on over to our TVRepairHelp subReddit!
Need help finding the right board or part?
Call us at 930-212-1975 or browse our inventory online.
DIY-friendly parts, fast shipping, and expert support – only at TVpartsToday.